

I already have a Blitz Gundam (or Fighter if you want to call it like that), but I haven't started making mini reviews like these back then.
Fortunately, the same client asked me to build his kit. He doesn't mind the damages (nub marks) so I'm glad about that. Of course, I will do my best making it as clean as possible.
I'm supposed to finish building this kit in just a week but many problems occurred on my side so I had to slowly build the model, probably 1-2 hrs a day. After resolving my personal problems, I started rushing the model, thus resulted with few images to show here. Actually this mentioned time is very normal for those who are also busy with their secular jobs.
So again, I would like to thank that person for letting me build his kit.
I would like to apologize if the nub marks are giving you eyesores. Reminder that I am NOT a professional builder. I don’t even put that thought in my head each time I finish a project. Feel free to send some tips if you know any. :)
Unboxing:

Same flat and wide box like the Duel, Aegis, and Buster copied from Bandai.
No issues on the manual and they are not like TTH (the TTH brand has lots of those chinese characters written).

What I do hate about these bootleg kits are that the runners are packed even though the box is completely spacious. There are 4 runners in one plastic bag.

Daban Model didn't thought this through that the parts will get a lot of scratches, stress marks, and in worst case - broken parts/pegs.
There are 15 runners in this kit including a wire for the Gleipnir. The next images will be the runners.
 |
 |
 |
 |
 |
 |
 |
 |
 |
 |
 |
 |
 |
 |
 |
I would like to point out that the black parts have bad plastic quality. I noticed that most of the bootleg kits have same issues when it comes to black parts/runners (same with Dragon Momoko's Destiny MB ver).
Or maybe it was just my rusty x-acto blade. Still, it doesn't look like a coincidence. >__>
Not sure if it's visible, but there are some minor scratches on the Trikeros shield.
There were no stress marks so at least I'm relieved.
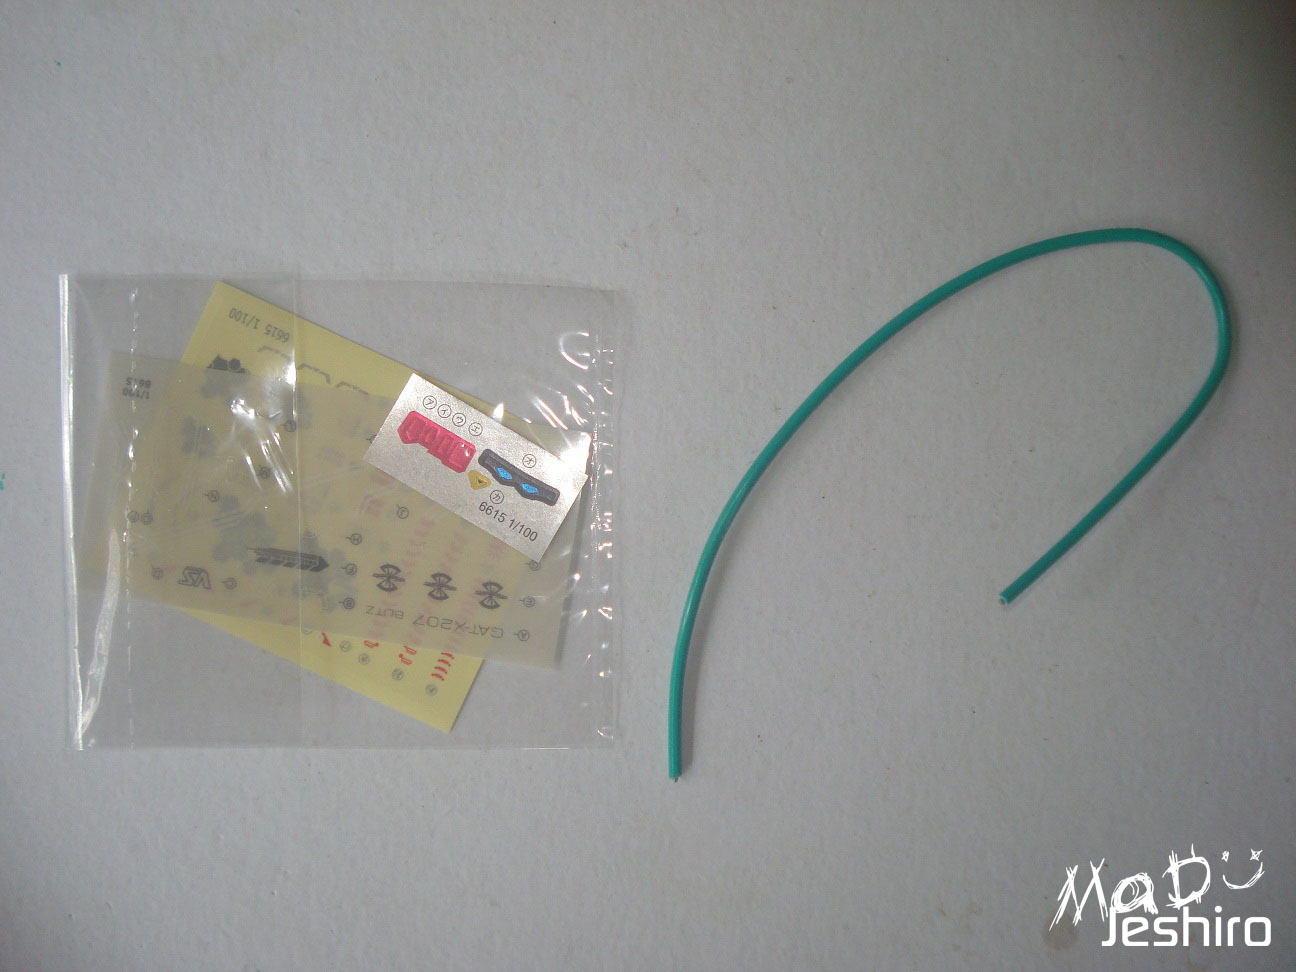
So here's the wire that you can use for the Gleipnir. It's just a normal electrical wire with the bronze wiring inside. You will also get a sheet of clear stickers and a sheet of foil sticker. The quality of the foil stickers? Bad as always and I will avoid using them. I don't like the clear sticker either so I won't be using that. But I will use the dry transfers to add some "life" to Blitz. :3
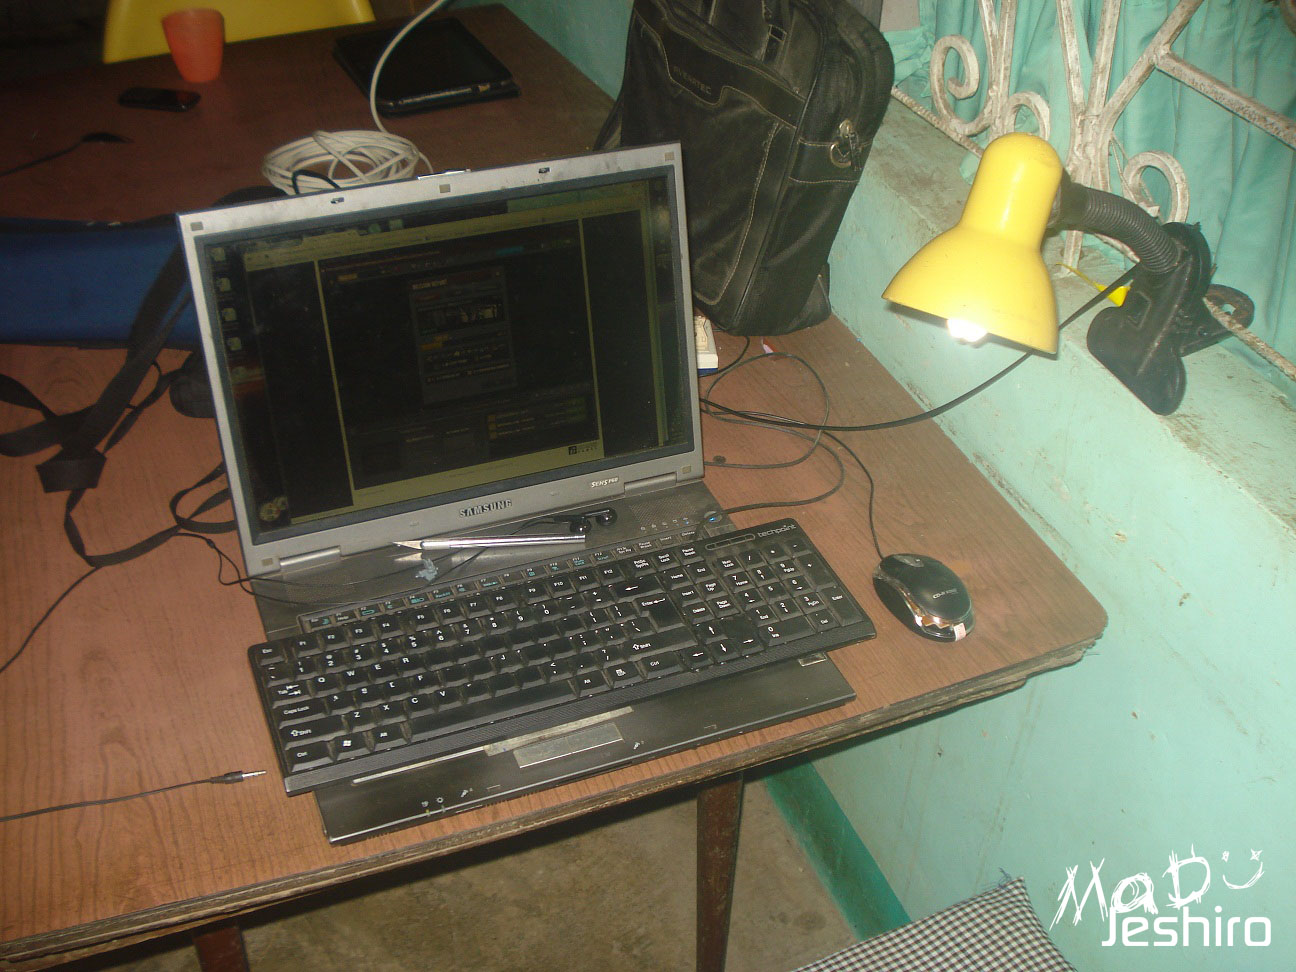
I still have lighting problems outside and I don't want to build it inside my room because I can't connect to the internet.
Body Unit:

Nice parts separation and all creds and engineering goes to Bandai. I can't remember if I forgot any parts here in the "exploded view".
 |
 |
 |
No snap fitting issues here but I would like to mention that I had to put some glue on those red parts.
The male pegs can be pulled outward for better articulation and posing. Same feature as you see on most Master Grade kits.
I ran out of Sharpie so I used uniball signo silver and waited a lot to dry the ink.
Regarding the back pack, I'm not sure if it's designed to be articulated or movable. But I didn't tried moving it that much because I'm afraid I might break something. :v
Head Unit:

No issues here (warped plastic/factory defects, or broken pegs from crammed plastic bag) and nice parts separation.
 |
 |
 |
Overall, snap fitting is good but I had a bit of trouble putting the other half of the head because the face part (J1 + K18 + A21) keeps hitting the PC socket piece (PC3).
Instead of using the foil stickers, I colored the eye sensors with a my-gel metallic blue ( I cant find any uni ball signo with metallic blue in our local school supply store) and the forehead sensor with Uniball Signo metallic red.
Arm Unit:

Very simple inner frame with fixed hands.


No snap fitting issues here. The arm can only be bent this much because the design hinders the articulation.
Shoulder Armor/ Upper Body Unit:

Simple mechanism yet designed with good parts separation. Creds goes to Bandai.


I encounter no issue on this section but I had to add some super glue on the black parts (H13 / H14) just to be safe and make sure they don't pop off during posing. What I did isn't necessary and you don't need to apply some glue.
One of the gimmicks for this kit is that the upper part of the shoulder can be pulled out and flip those parts up.
I added some minor detailing using silver and metallic green
Waist Unit + Side Skirts:

Very straightforward design. And I saw a lot of minor scratches on the back skirt.... I hate it and the reason is because of Daban's idea placing 4 runners in one plastic bag.
Anyways, I added some minor detailing here using metallic red, metallic green, and silver.

On the back skirt, I added the metallic blue and more greens. Some might say that the color I used do not blend with the model's overall scheme, but for me it's just fine. Maybe it's just my taste. I will ask for some suggestions from my colleagues in case I have a new kit to build.
 |
 |
 |
Also, the back skirt's ball joints? They keep popping out of the waist's inner frame. Either you put the upper body to keep it in place or add some nail polish on the sockets to make it tight.
Leg Unit:

There were a lot of parts for the leg so I only placed the parts needed for the right side. Simple inner frame but nice parts separation makes up for it. Thanks and credits to Bandai :)
Regarding its snap fitting, well there were several tight male pegs but not much of an issue. Sand them lightly just enough to fit them to the female pegs.

Here's what they look like when bent. Some angles are limited due to the leg's design.

And here's what I look like inside my room. :v
Yeah, it's a bit small but I just have to cope up with it. My old room used to be bigger and well lighted than this one. :(

Now I just have to finish the weapons. :)

Weapons:

Trikeros:
The only issue here is that rack-like piece (Part I9) where the darts are placed. I had to glue that part because it keeps popping off when I try to insert the darts.

Gleipnir:
No snap fitting issues here.
On my old Blitz, one of the yellow parts were partially bent. Probably an isolated case due to shipping and bad handling of runners during packaging. Just check yours since the plastic isn't that durable.

Completed Model:
The dry transfers were also bad and I only used the white seals. As mentioned, I will not use the clear stickers because they might end up peeling off from time to time and the dust will stick on it.
I added some few waterslide seals from Strike and Destiny. I only have few white seals and I'm saving the rest for my future kits. Also, I would like to apologize for the lack of shots. I don't have some shots for the articulation section because I was in a bit of a hurry.


So here's my personal rating..
Plastic Quality:
Some of the black runners have good plastic quality and some are bad. I will suggest to use a brand new and very sharp x-acto blade when trimming the nubs.
Fortunately, there were no warped, distorted, or "melted" parts aside from the minor scratches. It's not compulsory but I think it's good to learn "progressive sanding" or "wet sanding". I should have learned progressive sanding to fix those scratches and to lessen those visible nub marks. :/
Snap Fitting: 7/10
The inner frame has lots of tight parts while the outer frame or armor, share the loose parts. But everything is just fine after a few tweaks. I didn't trim any pegs to make them fit because I want it to have tight joints, just enough for posing. Although I had to glue some of them because these parts don't use a male-female peg design, but a slot type kind of design.
Articulation: 6.5/10
As you can see on the images, the articulation is nice and Blitz can still bend the arms and legs within a good angle, just not that extreme. I haven't tried my usual High Kick pose because I was in a hurry.
Gimmicks: 6/10
The kit has very few gimmicks and the only main gimmick this kit can feature is the Gleipnir where you can attach the wire on the rear end.
If I were to add the weapons as part of the gimmicks, I love the Trikeros and the Gleipnir. But for my side, it seems there's something that can make Blitz stand out against other MS from the GAT series... I'm not sure what it is :/
Extras: 4/10
And 2 small figurines of Nicol. Bandai didn't even include a base stand which could've been great for posing. >_>
Overall Rating: 7/10
Good parts separation thus making it a good model for painting. Simple inner frame that can be recommended for beginners who haven't tried bootleg Master Grades.
Still, I would recommend getting Bandai for better quality. But if you want to test some painting skills or new combination of paint, or some "kitbashing" before getting the Bandai model, then get this one at the moment to try your ideas. Some parts are not molded perfectly so the edges are not that sharp compared to Bandai, so I will not recommend this as a good replacement for missing parts unless you can fix it, or IF AND ONLY IF your Bandai model has a problem with such issue.
It's like a "BUY at your own risk" when it comes to bootleg brands.
I will be working on Astray Red Frame Kai. Sorry if I lack information for this kit (that's why I said mini review).But I will do try my best to provide more info when I create reviews. If you have any questions, just please comment it below. If you saw any typos, please do mention it. :)
I don't mind getting corrected when it comes to my near-good grammar and spelling. >_<
No comments:
Post a Comment