The actual plan was to get the Barbatos 1st form and that was during the Season 1 “hype”. I still haven’t raised any funds to get the kit but I was close on getting one for myself. And then Season 2 finally came and all of my previous plans were ruined (in a good way). I got hooked with Barbatos Lupus and Barbatos Lupus Rex. I can only get one so I had to pick for the kit that shows a lot of impact for me and that is the Barbatos Lupus Rex. The design makes it look really fierce and I love it. I still want the Barbatos Lupus and I might get it after some time (a long time). I’m really glad I managed to get this kit last year but it was all thanks to my trusted friend who made a lot of sacrifices and even pulled out one of the first batch kits.
Another thing I want to mention is that I am really sorry to all of you guys who kept reading or at least taking a peek on mu blog because this update is so late. I was busy binge-watching Game of Thrones and I am STILL trying to find for a new job. I got rejected a couple of times and I am frustrated how am I support or continue my Gunpla reviewing career. I am now on my last few articles and this blog will be quiet and only the updates of new kits and gatherings might keep this blog alive. I hope that you will keep on supporting me even if I don’t have anything to post. I am willing to help and answer any questions related to kit issues even if I don’t have the review. This is because I have lots of colleagues and friends who have built them and I will share the things I have learned while I am looking for a way to get an actual article with pictures about that certain kit.
And again with the typos, just don’t mind them and I will fix them up once I get some time. I am busy with a lot of things on my end. If there are any wrong terminologies used here, please do correct me.
There are just 8 plastic bags inside. There’s a max of two sprue frames on some of the bags. The sprue frame A is packed without any other frames in it. Nice decision and planning from Bandai so that the V-fin is protected.
I can’t help staring at the image of the construction manual. Barbatos Lupus Rex looks really amazing in this art.
The last page of the construction manual features some of the model’s gimmicks and basic info about them.
Bandai is proud to feature an almost-perfect inner frame for their IBO model kits in the 1/100 line. The Full Mechanics Inner Frame looks more detailed compared on the Inner Frame structure from the first 1/100 IBO models. You also have an English-written info about the pilot and how he got the mobile suit. I mentioned “almost-perfect” and I will give my thoughts about this later on.
Here’s the list of the sprue frames that I will show afterwards.
Sprue Frames (Runners):
You have a total of 12 frames or runners* for the kit and it is 15 if you include the action base sprue frames. The plastic quality is nice and it kind of gives a “matte” feel to it. White parts look glossy but the yellow parts, like I said, has a matte feel. So I am torn if I should use Angelic Color pens that suits best for matte look or use the same metallic ones. I think I will stick with the metallic pen. :v
* - a colleague suggested to keep or use both words.
Anyways, you get the same foil sticker and it’s quite disappointing they don’t have any foil stickers for the Rex Nails. I mean it’s not the best way to put some color on the nails, but it’s the least Bandai can do for straight builders. :/
There’s also a wire that will be used for the Tail Blade.
The 1st batch kits also include the Tekkadan logo clear sticker as written on the box.
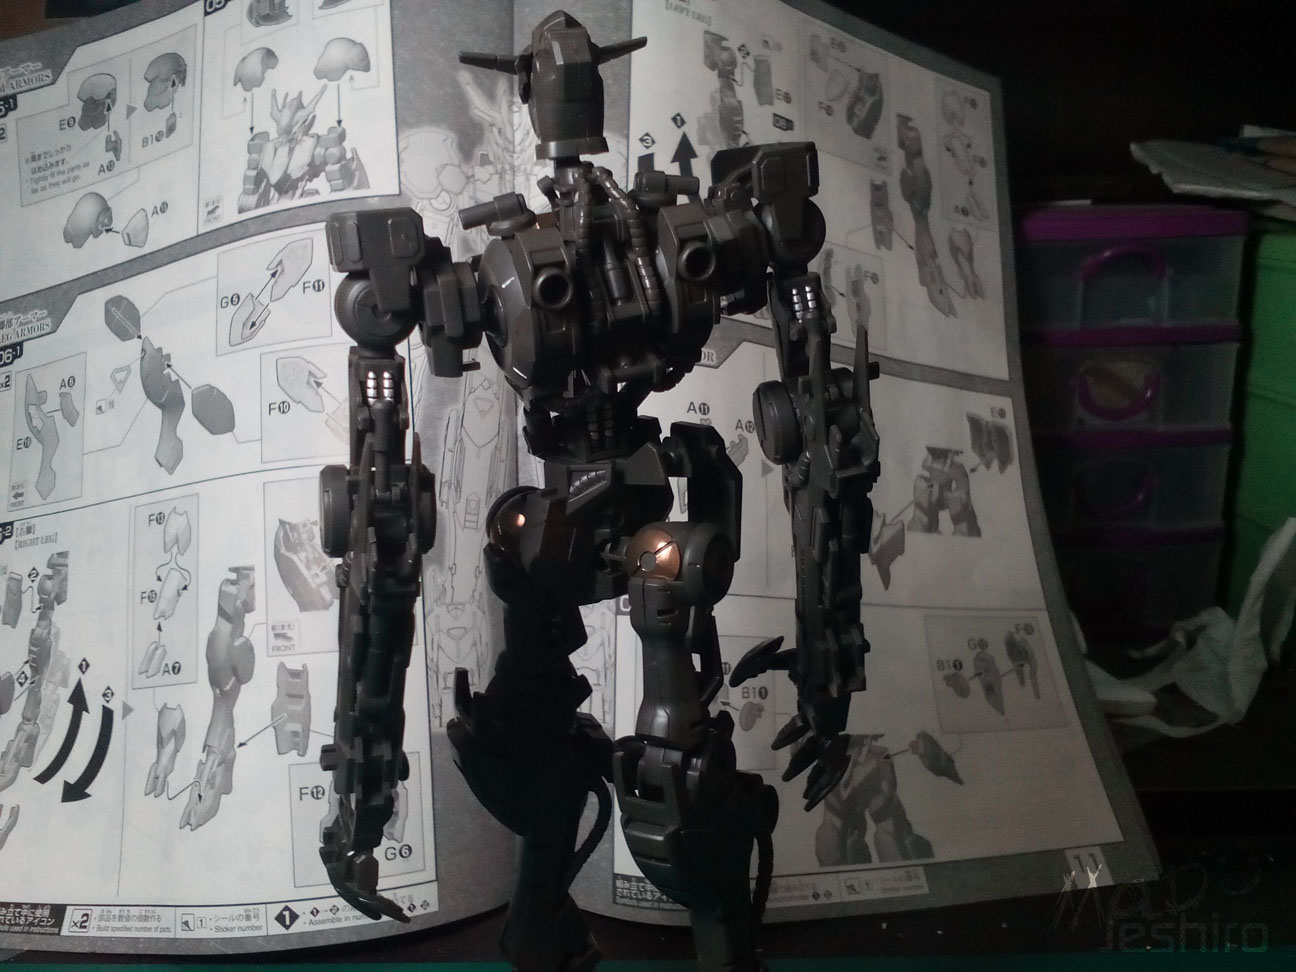
I noticed that the Inner Frame will be assembled first before placing the outer armor parts. So I will be doing separate pictures for the Inner Frame and after the armor parts are placed in. But I will use the same routine where I show the exploded view.
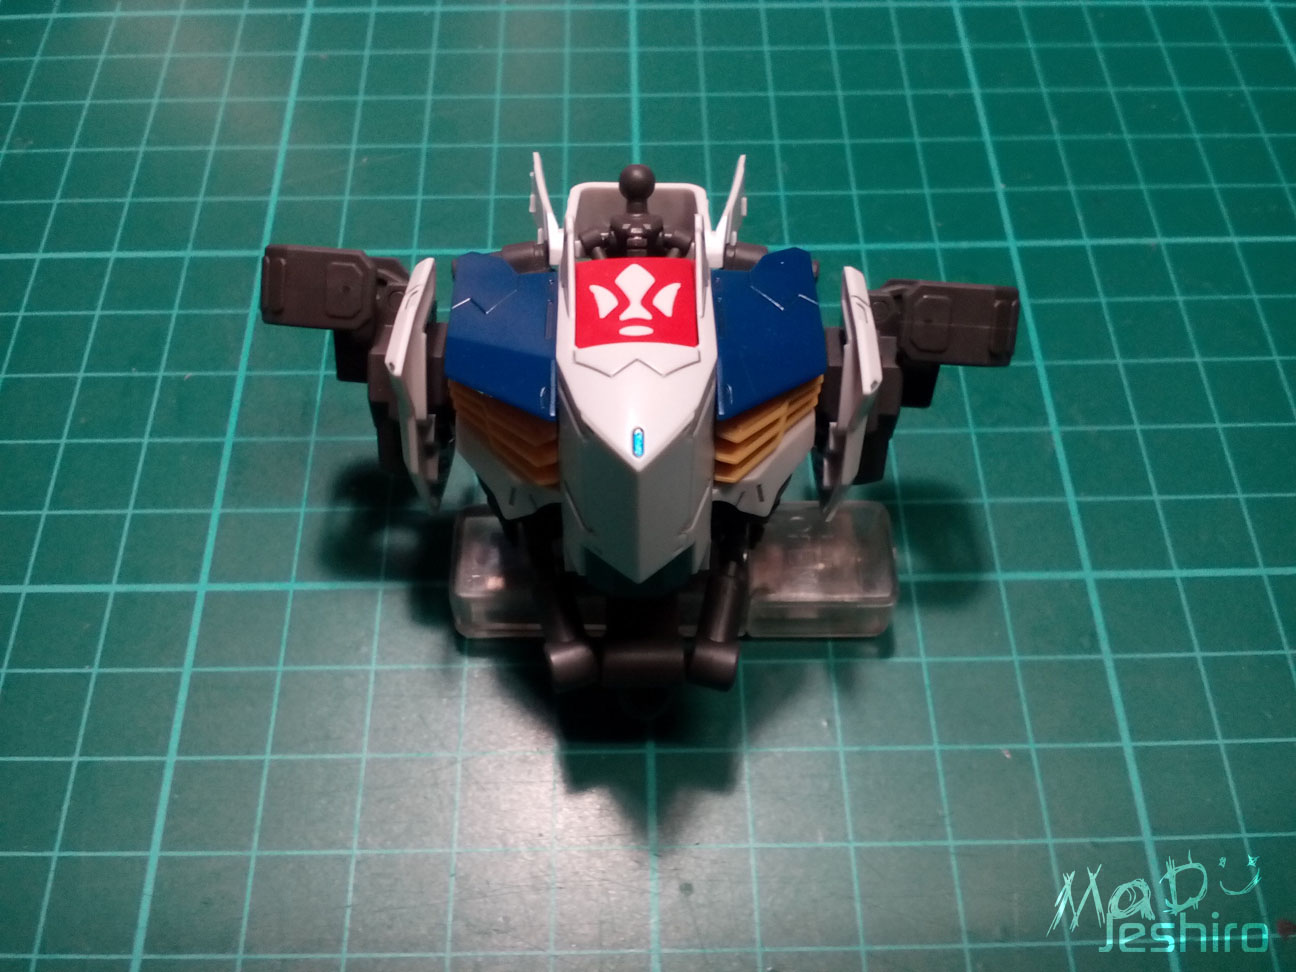
Body Unit:
So here are the parts for the Body Unit. It looks above average considering there are more parts for the inner frame.
I don’t have any issues with the Inner Frame and I am amazed that even though this is not an actual Master Grade kit, Bandai put some nice detailing because of the extra separated parts. I rarely use foil stickers but this is an exception because I don’t have any painting skills to use and put some color on those parts.
The body features movable parts. The shoulder section is separated so you can tilt it in a circular motion. You can also slightly twist the lower section. The middle part is fixed and only the piston like parts will do the work when you try to tilt to the upper section of the body.
And here’s the Body Unit with the armor parts. I have also added the inner frame piece for the shoulder armor. Movement of the abdomen isn’t that smooth but it is still movable. You have a very short angle when tilting or twisting the abdomen.
There are no gimmicks like the common cockpit hatch. But who knows, they might put one when this model gets the Master Grade treatment.
Head Unit:
The amount of parts for the head is average.
The Inner Frame is quite straightforward with no snap fitting issues. It kind of reminds me of the heads for wooden dummies when artists try to draw something.
Even for a simple Inner Frame, the detailing was still great and Bandai did a nice job in placing a green separated part for the eye sensors. At least, you can easily avoid using foil stickers and just paint the actual eyes.
You will need to remove the upper part of the Inner Frame that serves as a temporary v-fin once you attach all the outer armor parts.
The head design is really stunning and fierce-looking. The Barbatos Lupus and the Barbatos Lupus Rex have identical head designs and there were no gimmicks added here. Still, the part separation for the yellow pieces on the cheeks is a great idea made by Bandai.
As you may have already noticed in the Inner Frame, I have used metallic red to color the eye sensors instead of using a metallic green. This is because I remembered its eye sensors changed during the battle with Hashmal. The MS was still in Lupus version but I thought I should apply it on the Rex version as well. It left a great impact on me why this gundam is called” Lupus” or a wolf.
Arm Unit:
Parts here for the Arm Unit are above average. This is not a Master Grade model but the parts separation done here truly amazes me. It just gets me more excited what if this model finally gets the Master Grade treatment.
I haven’t built the Barbatos Lupus but I have seen one up-close and I am very familiar with the Inner Frame on that model. Compared here in the Rex version, the upper part near the shoulder is different on the previous model. Probably because they need to compensate for the new size for the arm. I don’t have any complaints there.
The range of movement isn’t bad, but it’s not the best this model can offer. Because of that bulk in the arm that hits the biceps, the degree is kind of reduced. I hope Bandai will give a few more degrees here if it enters the MG line. But after analyzing the design, I found out it was actually okay.
As for issues here in the Inner Frame, there were just several tight pegs which is no big deal.
After attaching the outer armor parts, the width or overall proportion is increased. It is indeed an arm of a monster! (LOL)
The range of movement here has the same limit with the Inner Frame without any armor parts. As I mentioned earlier, I think that Bandai made it just right regarding its range of movement. If you check on the encircled part, you can see that the biceps have a slant edge.
What if Bandai managed to create fully articulated manipulators for Rex where the nails are already pre-colored or molded separately in yellow? That could have been a nice feature in my opinion. :D
Anyways, the main gimmick here in the arm unit is this mechanical arm with a clamp on the tip. You can use any separate weapons from the 1/100 IBO line and attach it here for Rex to use. On the Barbatos Lupus, this was a machine gun and I kind of like that than this clamp. The mid-range machine gun is now placed near the wrist but it’s not that noticeable.
I have added some metallic blue in the Inner Frame so that they will be seen on the carved parts of the armor.
Another issue I have found when you attach the outer armors are the seams. One of the seams was quite big so I had to use super glue just to close it up. My guess why this happened could be the armor parts were slightly bent when it was packed. As time passes, the bent became permanent so it’s a bit hard to reposition it again. I am aware with the hot water method to see if it will fix it up but I don’t want to make it any worst.
I also want to point out here are the gaps or hollow spaces for each finger. They're a real eyesore. For those who have the skills to fix them up, I suggest closing these spaces.
Upper Body Unit (Shoulder Armor):
Here are the parts to build the Upper Body Units. Amount of parts were below average considering it doesn’t have any other features when it was shown in the anime series.
There are no snap fitting issues here and it was pretty straightforward. For those who are not familiar with the Mobile Suit, the Barbatos Lupus’ shoulder armor is much bigger than the Lupus Rex version. You will notice that the Tekkadan logo is gone and it’s already placed on the chest. If I were to get the Barbatos Lupus version, I would definitely switch the shoulder armors simply because I like the larger Lupus one.
These blue parts on the sides are movable and can be tilted to a small degree.
Once done, you can attach the Upper Body Unit on these clamps.
Waist Unit:
The amount of parts here for the waist were quite average. Part separation was just right considering there were only few parts that need to be separated in terms of color.
The Inner Frame has a few snap fitting issues but it wasn’t much of a big deal. The bronze foil stickers help the back skirt frame look separated. Although, it won’t be much of a use once the armor parts are attached.
A lot of builders are doing this and I want to add some articulation here on the front skirts. After checking the parts where will this go, I saw that it has separate sockets and that gave me the “Go” signal to cut the front skirt in half. Of course, you should be careful not to damage the ball joints.
Now I finally have separated the front skirts that will work well if you move a single leg.
After attaching all the outer armor parts, I found another issue. The whole front armor or you could say the crotch section (including the front skirts) is a bit loose. I fixed this up by adding some blutac (tac-it) so it won’t fall off during movement. The side skirts don’t have any issues with the clamps so it’s fine.
The RoM for the front skirts are decently fine. Though I would want them to move even higher considering that the abdoment is thin.
The side skirts are great because you move literally roatet them to 360 degrees. There is no issue when you lift them sideways as well.
Another thing I want to point out is that the back skirts are not movable. Of course this is not a fully detailed Master Grade kit, but I have my hopes up that they will include articulated joints to move the back skirts for better range of movement.
Leg Unit:
The amount of parts for a single leg is above average. The basic Inner Frame provided by Bandai helped a lot of add more separated parts.
Here’s the Inner Frame for the model. There are few changes here and those are the foot. As you may have already noticed, there inner frame parts for the Barbatos Lupus are left on the sprue frames. And then Bandai decided to add a different sprue frame because of the new design for the Lupus Rex.
Articulation is good and features decent range of movement. One of the things I like in the Inner Frame is the pistons on the back. Though not perfectly complete, that small piece can be tilted because of the ball joint peg.
The foot is also divided into two sections so you can slightly lift the toe upward.
The ankle is designed to bend sideways and gives you a nice range when moving.
And here are the Leg Units after attaching all the outer armor parts. It may be simple at first glance but this looks awesome. The size is really noticeable as well and this is the first time I’ve seen a monstrous-like leg for a Gundam unit.
RoM (range of movement) remains the same, but there were some few degrees that were cut off because of the armor parts. First if you look on the leg at the right side, the ankle guard on front is hindering the leg so it can’t bend down any further. This is just a very short degree so it’s not a big deal. My apologies if I don’t have a picture of the rear view because it was really blurry. I decided to trash the image because of lack of visibility.
The second deduction in its movement is here on the ankles once the armor parts are added. If you remember the image of the Inner Frame earlier, it was bended sideways to a decent angle. But here, I can no longer do that same stretch sideways.
As for the toe section, there were no problems lifting it up even with the armor parts attached.
These angle guards can be tilted to a very short degree as well.
Backpack Unit:
Here are the parts for the model’s backpack unit. It doesn’t have any good parts separation and looks pretty basic.
No snap fitting issues here and the pegs fit just fine. The only issue here on my side would be the foil stickers just to add some extra color. :/
The two pegs of the backpack remind me of the universal connector from Build Strike FP that allows you to attach the Build Booster on other kits or use other backpack units. I am not sure if this is possible, but that gives you the idea to add or use other backpacks for an IBO kit. This could be an extra factor if you want to modify something.
Another thing I noticed is these female pegs on the sides. The kit didn’t include any weapons so there might be separate add-ons from Bandai that you can attach here. You can also use these pegs as another factor for modification.
The black middle section of the backpack is movable and you can lift it down or up. This is the part where the Tail Blade is connected, which I will feature in the Armaments Section.
Armaments:
Tail Blade:
One of the iconic weapons of Barbatos Lupus Rex is the tail blade and Bandai made a nice decision to make a separate yellow part for it. I am still traumatized with the foil sticker in its HG version. >_>
It was a straightforward build with no issues. But the detailing on the sides was outstanding and that’s a plus factor that outweighs its simplicity.
The kit includes a black wire that serves as the cable whenever the Tail Blade is launched out. The issue here however is that both tips of the wire are smooth. The weight of the Tail Blade can easily rotate the wire downward. You might want to add something to tighten its grip. On my side, I just added a good amount of blutac (tac it) so I can pose it easily.
Ultra Large Mace:
These are the parts for the weapon it’s really simple.
There were no problems when building it and the panel likes looked really cool.
The second iconic weapon of the Barbatos Lupus Rex features two gimmicks. First is the handle that can be pulled out. This gives you a lance-like feat aside from using it as a literal mace.
The second gimmick, though not used often, is the Pile Bunker on the tip of the mace.
Action Base:
Here are the parts for the Action Base or pedestal. You might have noticed that there are some parts different here.
This is a different model compared to the universal action bases back then.
First of the features is the lock on the front side of the stand. This is used when you have stretched the secondary stand.
The back or rear side of the stand features another lock that is used when you slide out the main stand.
There is also a third lock on the tip on the main stand. If you are familiar with the Metal Build action bases, the features are the same. I hope Bandai continue using this kind of model for all future kits in the 1/100 FM or the Master Grade line.
I love the new design here on the pedestal and I prefer this one compared to the older model with pipes or tube designs on it.
Short coffee break before I continue~
Extras:
You get the usual fixed extra closed-palm manipulators whenever you use the Ultra Large Mace or any other weaponry.
The kit includes a small 2-piece stand.
There are gaps inside the first part and this act as your lock when you adjust the second part of the stand.
You can place the mace here or the tail blade.
It’s nice of Bandai to this connector for the Ultra Large Mace. This will be used to attach the weapon on the back skirt of Barba Rex.
And lastly, there were a lot of spare parts that is meant probably for the Barbatos or Barbatos Lupus. I don’t have any use for them so I will not cut them off.
Completed Model:
Here’s a size comparison with a 1/144 scale 00 Gundam. LOL
Range of Movement (Inner Frame):
Before I feature the actual finished model with its armor, I will take a recap and some commentary here in the Inner Frame.
Starting from the head, you can rotate it to a full 360-degree with ease.You can also lift the parts where the shoulder armor are attached.
These piston-like parts for the shoulder armor also give a nice degree. These may be simple or you could say just “extra” separated parts, but they can be rotated without any problems. And if you are very meticulous with detailed poses, their position can be synched with the arms’ movement.
Both arms can be lifted up like so without any parts that pops off.
The arms and torso is separated by another part that acts as your shoulder. They are all connected via ball-joint pegs that enable you to rotate or move them in different angles.
Moving on to the body, you can twist the lower abdomen to this degree.
As for your waist and legs, you can stretch them back and forth with ease. And this is obvious because there are no front skirts hindering its movement.
That goes the same when you bend the legs sideways. If there were side skirts attached, it could have been a different outcome.
The main male pegs that connect both legs feature nice articulation. It’s not fixed within the waist’s inner frame allowing you to pivot them to a certain degree.
Though they are easy to remember, I still placed the armor parts on plastic bags so they won’t get mixed up. :v
Now for my commentary about the possible improvements IF AND ONLY IF the kit is featured or released in the Master Grade line. I saw a lot of room for improvements and the model can boast off a lot of articulated parts.
First are the pistons on the back of the arms (1). They are fixed and they don’t affect the arm’s movement. This can be improved as an actual separated piston you usually encounter in other MG kits. There could be a separated part for the piston on the nape (2) as well.
Same with the arms, these pistons (5) can be improved as movable parts. The back skirts (4) can be separated as well for a better movement with the legs.
I love these pistons on the lower leg section (6) and Bandai can make this a separated 2-piece part as well that retracts when you move the foot. The tube like parts (7) can be molded as a separated part too.
I hope they will also make this (3) a separated part as well because it is still bared once the armor is attached.
I recall that the Barba Rex have mid-range guns on the arms (8) and I hope that Bandai will do something about it as another gimmick, same with the hidden machine gun of Hi-Nu “ver Ka”. And let’s not forget the tricky Rex Nails (9) that still leaves me dismayed because you need to paint it. I know I am lazy but I still hope that they could make fully articulated manipulators where the nails are separated and already colored in yellow. At least give some “mercy” for pure straight-builders like me.The sections on 10 and 11 could be nice as separated parts.
Now here's the model with the armor parts attached.
Range of Movement (Completed):
Of course its movement will be limited now that the armor parts are attached, but they are affecting it to a very small level.
Let’s take a short look on its basic RoM.
Here in the upper body, the shoulder armors are hindering its overall movement. It’s not much of a big deal and I think the degree you have here is just right for Barbatos Lupus Rex.
The Arms can move to the front like so.
As for the lower body, the legs can still do a perfect split sideways. But if you bend the legs backwards, the fix back skirts will get in the way.
As you can see in its right leg, you can lift it up that much. The front skirts can no longer move up so it has a huge effect how much angle you can cover for the legs.
Close-Up Shots:
Action Pose Shots:
*CLICK IMAGES FOR LARGER VIEW*
Now here are my personal ratings for the model kit..
Plastic Quality: 9/10
There’s no question when it comes to Bandai’s quality especially that this is a newer kit (based from year released). It has a matte-feel at first look but the texture remains smooth with a glossy finish. There were no flashes, dimples, and or uneven molded parts. The gates are in a triangular shape, so the nubs produces aren’t that big. They could still create stress marks or nub marks if these gates are cut on the wrong end. I have no complaints here and Bandai did a great job as always.
Assembly: 9/10
There were a few tight parts as I have mentioned but those were very minor cases and something that won’t create any bigger problems. Everything fits just fine during my final assembly attaching all the armor parts. There were a few loose parts but that can be fixed with some “Tac-it” adhesives.
Detailing: 8/10
Though it doesn’t feature a huge amount of parts like the Master Grade line, the parts separation is just enough to highlight the model’s awesome features like the Rex’s toe, the yellow parts on the shoulder armor, and even provided a separate part on the Tekkadan logo on its chest instead of relying in foil stickers. It was still a bummer for me that I have to resolve in painting the Rex Nails for added detailing.
The raised surfaces and panel lines are part of the detailing. Some lines were kind of shallow, so you might want to fix this up for clearer and noticeable panel lines. Anyways, it was still good because there were a decent amount of them (panel lines) to give some nice added detailing for the model.
Articulation: 9/10
It took me a while to decide what rating I should give here for the Articulation section. But I remembered that the Inner Frame features lots of good movable parts. It also covers the needed basic movements. Even though a few angles were taken out because of the armor parts, this 1/100 FM version of the Barbatos Lupus Rex is capable of doing extreme movements and that is really nice for builders like me who keeps on trying different action poses.
Gimmicks: 6/10
The best gimmicks I have seen here are the fully articulated mechanical grips inside the foreams and the Pile Bunker inside the Ultra Large Mace. I’m counting the tail blade with the attachable wire as part of the gimmicks as well. Other than that, I don’t see any other cool gimmicks. If would have been nice if the model was in Master Grade and they will really put a retractable machinegun on the wrist side and a cockpit.
Armaments: 5/10
As I have mentioned earlier, I know there were some machineguns on the wrist side. But they were not visible or Bandai didn’t put any efforts to give some detailing here. So you only have the basic 2 weapons of the model which is the Ultra Large Mace and the Tail Blade. The Rex Nails are considered as weapons but I am not counting them here.
Extras: 3/10
There were no usable extras here that you can use. I don’t see any good ways for you to use the extra parts probably meant for the Barbatos Lupus. There’s an adjustable weapon rack for the Rex’s mace and Tail Blade. I could have given it a rating of 5 because of the free action base but this is just an added item for the first batch. So basically, all regular kits doesn’t have any action bases you could use for extra action poses.
Patience:3/10
It was very easy and fun to build. I have no problems or complaints in the overall assembly and this kit recommendable for beginners.
Overall Rating 9/10
It’s definitely a must-have kit if you are a straight fan of the series. Most builders would pick the Barbatos Lupus version, but I kind of like this one because of its fiercer proportion. Assembling and Plastic Quality have met my standards and that is no question from Bandai. They did a good job and I hope I can review the Barbatos Lupus version in the future.
I would also recommend this kit for beginners if they want a nice warm-up before stepping into the Master Grade line. The 1/100 FM kits covers the basic what builders will encounter in a Master Grade kit. Unfortunately, they don’t have a basic dry transfer decal sheet that can be used for some extra details. In essence, you are just like building somewhere between 1/100 HG or NG and the 1/100 MG. You can try out anything from the 1/100 or 1/100 FM IBO kits as a good stepping stone for Master Grade. Of course, there are still easy-to-build Master Grade kits, and this is the option if builders don’t like the looks or proportion of the Mobile Suits from the IBO series.
I am not a PRO in terms of modding or adding cool stuff in a gunplay model, but I will share my thoughts. This model isn’t plain but you will see that there’s just a lot of room for modifications. The basic Inner Frame of the kit also provides a decent “canvass” if you want to use other parts from kits. No wonder a lot of builders I have seen in GBWC make use either of the IBO kits (mostly Barbatos and its variants) or just Inner Frame.
Well that is all I can say for the kit. I would like to apologize if some of the pictures were blurry and I didn’t provide enough to cover some of the neat features. I might have missed a few gimmicks as well but do remind me or if you know any cool tips for this kit, just share them in the comments section. Again, I apologize for the very, very late update. Things were really rough on my side. The intro in this article is old because I have finally found a job, but I will not edit of that stuff above. With the new job I have, I hope I can save up some funds to continue reviewing Gunpla model kits.